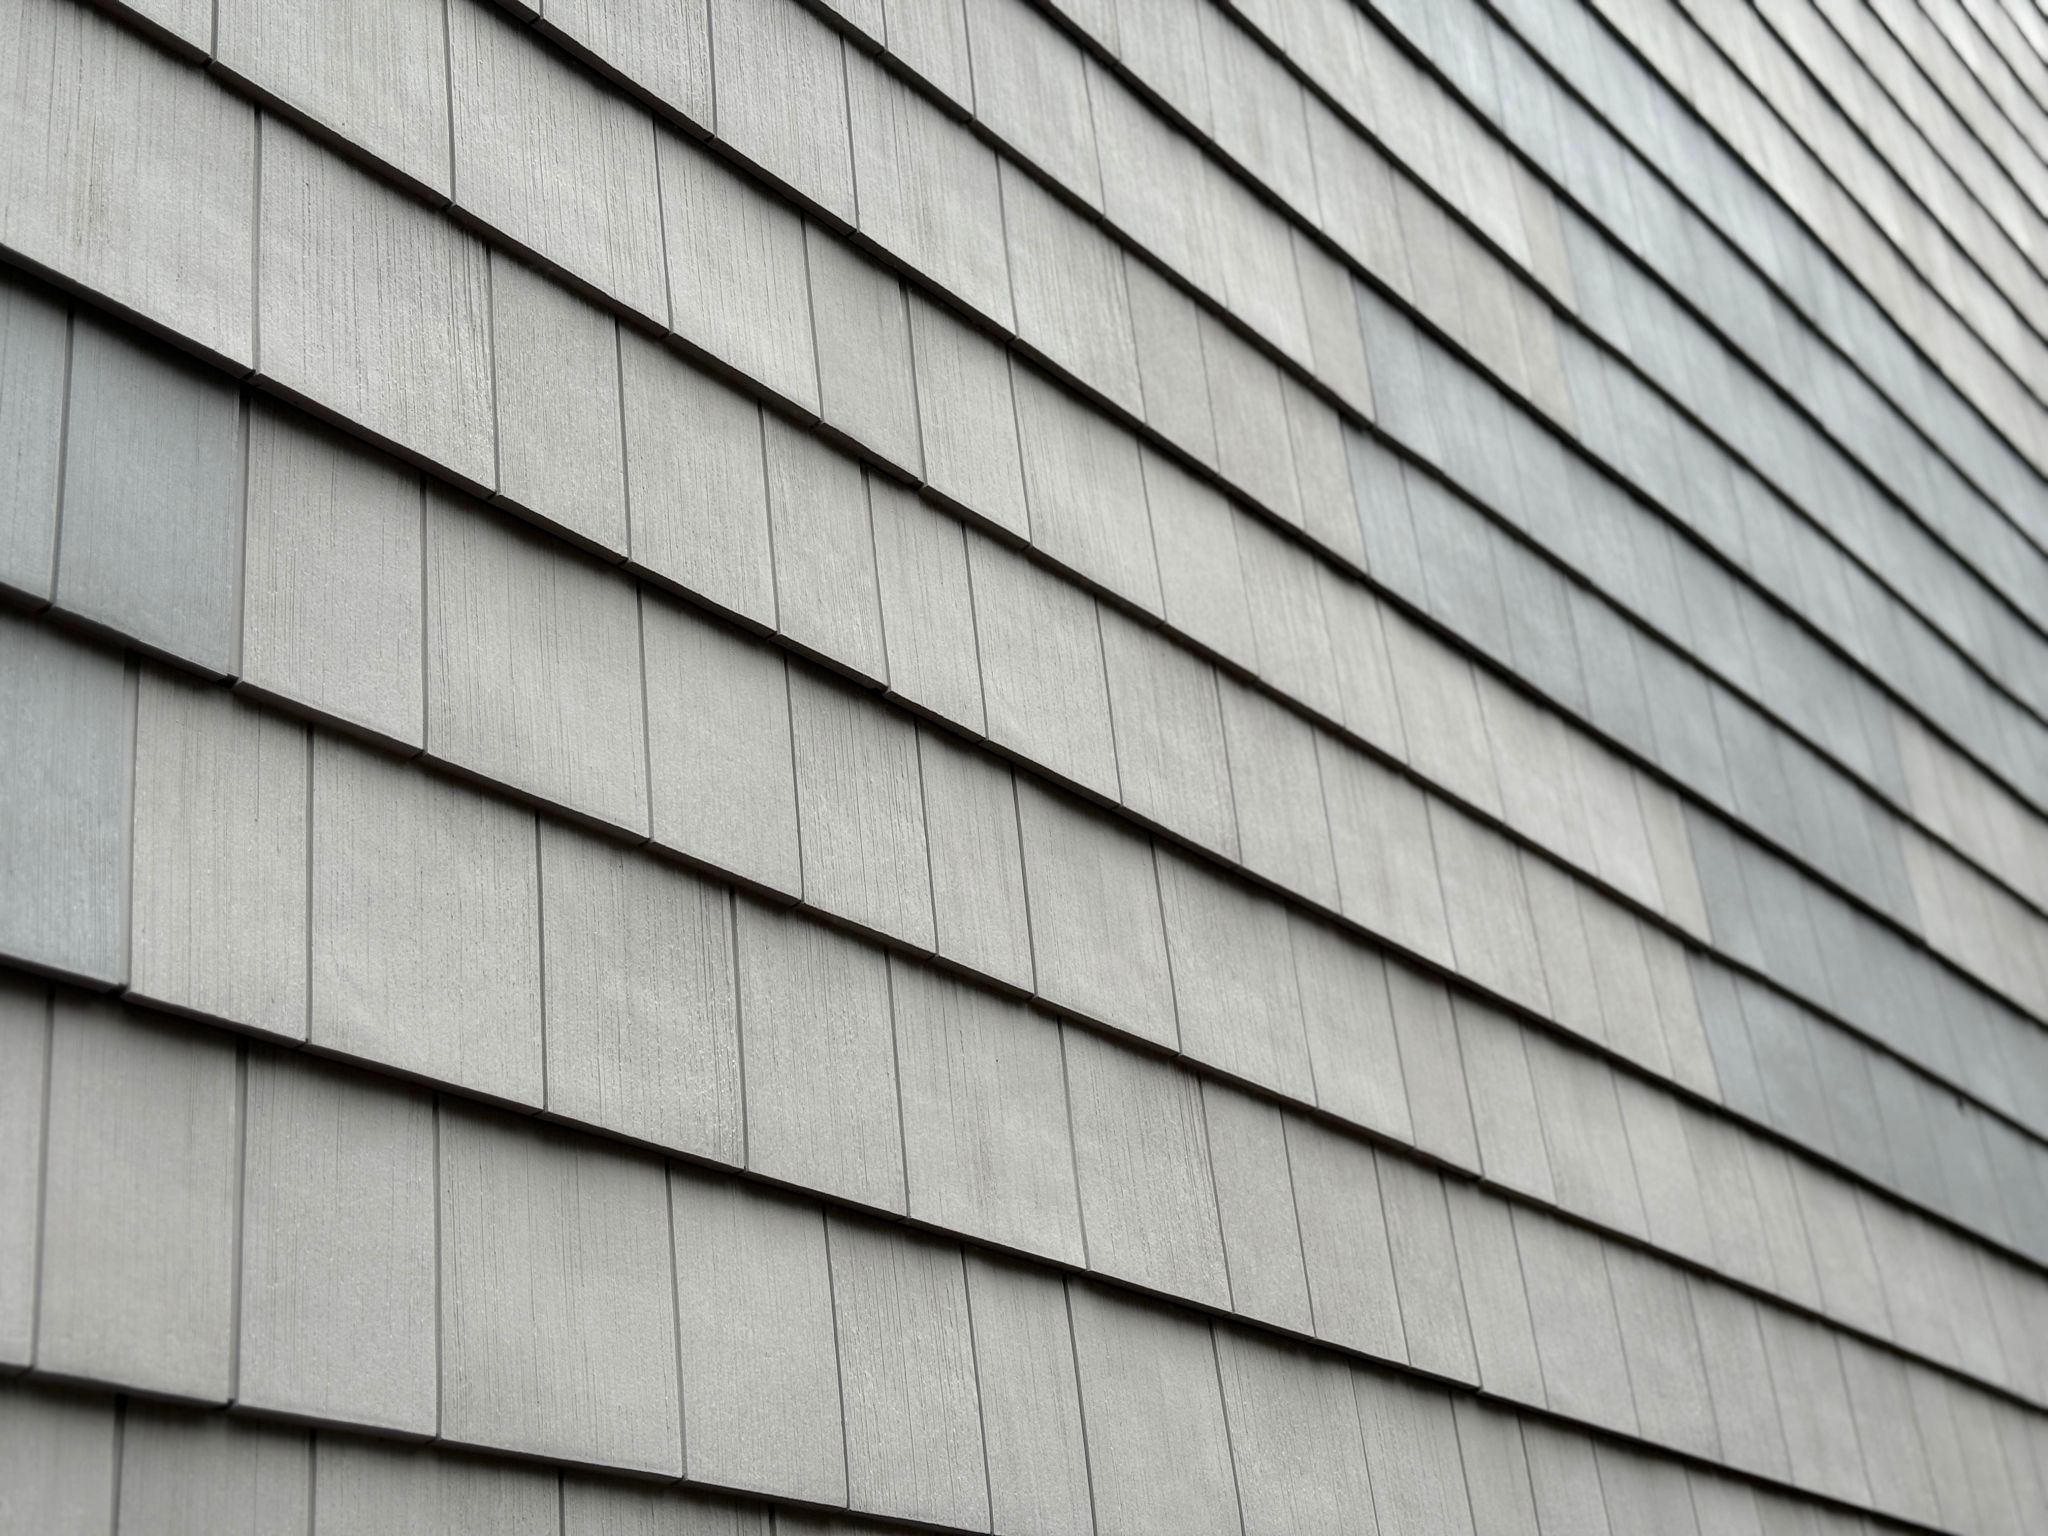
Understanding the Siding Installation Process: A Step-By-Step Guide
Introduction to Siding Installation
Embarking on a home improvement project can be both exciting and daunting, especially when it involves the exterior of your home. One crucial aspect is siding installation, which not only enhances curb appeal but also provides protection against the elements. Understanding the siding installation process can help ensure a successful project and a long-lasting result.
Siding is available in various materials, including vinyl, wood, fiber cement, and metal. Each type has its unique properties, benefits, and installation requirements. This guide will walk you through the general steps involved in siding installation, helping you feel more confident about your upcoming project.

Preparation and Planning
Assessing Your Home’s Exterior
Before beginning any installation, it's essential to assess the current state of your home's exterior. Check for damaged or rotting material that may need repair before new siding can be applied. This step ensures a smooth and durable finish once the new siding is in place.
Selecting the Right Siding Material
Choosing the appropriate siding material is crucial for both aesthetic and practical reasons. Consider factors such as climate, budget, and maintenance needs. For example, vinyl siding is low-maintenance and cost-effective, while wood offers a timeless appeal but requires more upkeep.

The Installation Process
Removing Old Siding
The first step in the installation process is removing any existing siding. This task requires caution to prevent damage to the underlying structure. Once the old siding is removed, inspect the sheathing for any signs of damage or rot, addressing any issues before proceeding.
Installing a Weather Barrier
After the old siding is removed and repairs are made, a weather-resistant barrier should be installed. This layer provides an additional line of defense against moisture infiltration, helping to protect your home from potential water damage.
Attaching the New Siding
With the barrier in place, it's time to attach the new siding. Begin at the bottom of the wall and work your way up, ensuring each piece is level and properly aligned. Use corrosion-resistant fasteners and follow the manufacturer's instructions for spacing and overlap.

Finishing Touches
Trimming and Sealing
Once all the siding panels are installed, it's time for trimming and sealing. Trim pieces, such as corner posts and window casings, add a finished look to your project. Sealing gaps with high-quality caulk helps prevent moisture intrusion and improves energy efficiency.
Final Inspection
Conduct a thorough inspection of your completed siding installation. Look for any gaps or misaligned pieces that may need adjustment. Ensuring everything is securely in place will contribute to the longevity and effectiveness of your siding.
By understanding each step of the siding installation process, you can make informed decisions and communicate effectively with contractors. Whether you choose to tackle this project yourself or hire professionals, knowledge of the process ensures a smoother experience and a beautiful exterior for your home.